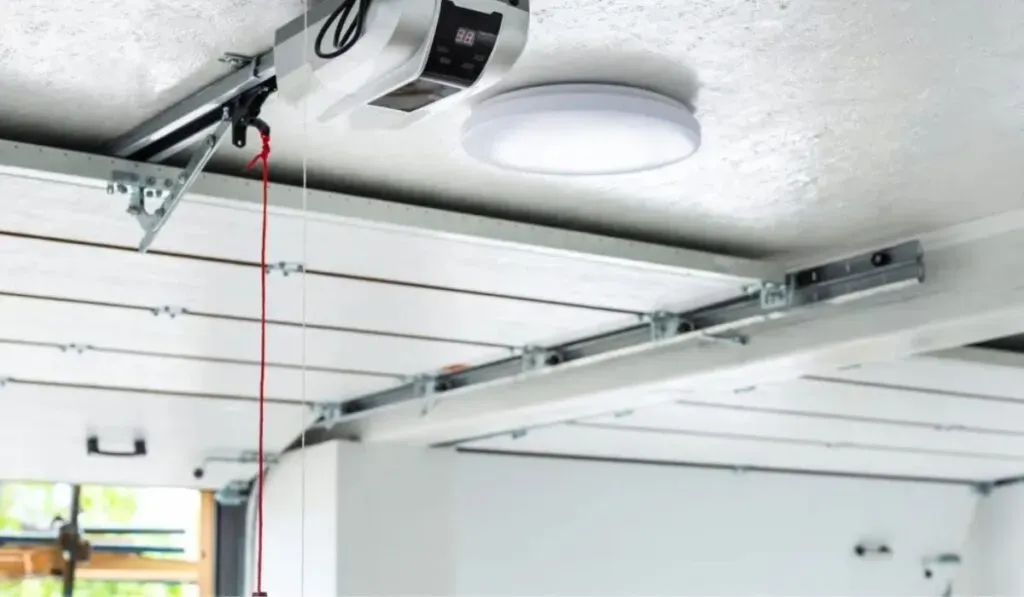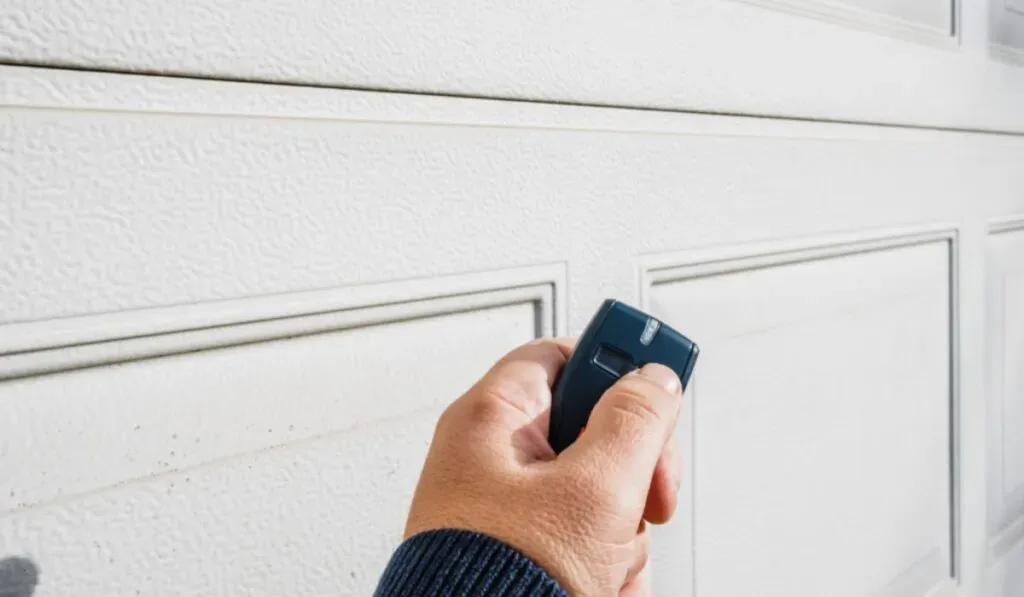
Liftmaster blinking light codes help identify specific problems with your garage door opener, including the common blink 5 times signal seen on models like the Lift Master 1260.
Understanding these indicator lights and blink codes is key for quick problem solving with LiftMaster, Genie, and Access Master Openers.
Understanding Your Garage Door Opener’s Language
LiftMaster garage door openers talk to you using blinking lights. These liftmaster blinking light codes are like a little language your opener uses to show problems. When the lights blink in patterns, they tell you what might be wrong.
Each pattern matches a specific error or status. Think of it as your opener’s way to say, “Hey, something’s off here.” This self-diagnosis light indicator helps you catch issues fast. So, before you call for help, watch the blinking light codes carefully.
Here are some common blink signals:
- 1 Blink: Your safety sensors probably aren’t lined up right.
- 2 Blinks: Something blocks the door’s path.
- 3 Blinks: The motor unit might be acting up.
- 4 Blinks: There’s trouble with the force settings.
- 5 Blinks (like on Lift Master 1260): The travel limits need checking.
These flashing LED signals save you time and stress. If you want more details, check your model’s guide or look up garage door opener diagnostic codes online. That can give you the full scoop on what each blink means.
Deciphering the Blink Codes
When your garage door opener shows these blink codes, start with this guide. It’ll help you figure out what’s wrong before calling someone for repairs.
If the blinking keeps happening or you can’t fix it, then calling a pro makes sense. Just keep your model number nearby when searching for answers—it helps find info that fits your exact opener.
Knowing these LED blink code meanings helps you deal with small issues without worry. It’s easier than guessing or waiting for a repair person to come out right away.
Common Blink Codes and Troubleshooting
1-Blink Code: Sensor Issues and Solutions
When your LiftMaster opener blinks once, it usually means the sensors have a problem. These are safety sensors or photo eye sensors. They watch for anything blocking the door’s path.
- Sensor Alignment – If the safety sensors don’t line up, the light will blink. Check if both sensors face each other straight and sit about 6 inches above the floor. If they don’t, adjust them until the light stays solid.
- Obstructions – Sometimes dirt, spider webs, or other stuff blocks the sensor lenses. This can cause blinking errors. Look around the sensors and remove any trash or objects in the way.
- Cleaning Tips – Use a soft cloth with some mild cleaner to gently wipe sensor lenses. Dust or smudges can mess with their signals.
If wires are loose or broken, you might see continuous blinking; in such cases, you might consider our expert garage door sensor repair service to ensure all wiring connections are secure.
2-Blink Code: Addressing Travel Limit Problems
Two blinks mean trouble with travel limits—the settings that tell your door how far to open or close.
Adjust these limits so the door moves smoothly. If not set right, parts can get damaged or the door might bind during movement. Your manual shows how to fix travel limit switches step-by-step.
Check if your door gets stuck or binds when moving. This often happens when the door isn’t balanced right or tracks are dirty. A balanced door helps avoid strain and error codes like two-blink warnings.
3-Blink Code: RPM Sensor Diagnostics and Repair
Three blinks signal an RPM sensor issue inside your motor unit. This sensor measures how fast parts spin to keep things safe. Here’s what might be wrong:
- The RPM sensor might be faulty and need replacing.
- Wiring could have shorts causing signal problems.
- Connectors may be loose, causing errors now and then.
To fix this, cut power first before swapping the sensor. Use only parts made for your model. Also, check wiring for damage before putting a new sensor in place.
4-Blink Code: Force Setting Adjustments and Precautions
Four blinks show a problem with force settings—how hard your opener pushes when moving the door up or down. You can change force settings on most models but be careful:
- Too little force means door won’t open or close fully.
- Too much force can make it unsafe by not stopping when something blocks the door.
Follow garage door opener safety standards like UL 325 while changing these settings. This helps keep people safe from injury during closing.
5-Blink Code: Motor Overheating and Prevention Strategies
Five blinks warn that your motor is overheating. This protects it from damage caused by too much heat in motors or control boards. To fix this:
- Give the motor time to cool down before trying again.
- Make sure nothing blocks air flow around the motor case—dust and debris can trap heat.
If overheating keeps happening, it might mean your logic board is bad. A pro should check this because faults inside can make current spike and cause more heat.
For tricky problems—especially electrical ones—consider our emergency garage door repair service for prompt, professional assistance rather than attempting further DIY fixes. Using these tips helps you spot common LiftMaster blinking codes fast while keeping things safe for everyone.
Advanced Troubleshooting for LiftMaster Openers
The first thing you need to do is find your garage door opener model number. It’s usually on a sticker inside the motor housing or near the light cover. If you can’t find it, try checking your garage door opener manual. You can also use an online garage door opener manual lookup tool. Just type in your brand and the approximate date you installed it.
Having the right garage door opener manual makes fixing things easier. Manuals show error codes, where sensors go, and how to reset your opener. They often have pictures and clear steps to help you out. Keep a printed or digital copy nearby so you can check it while working.
When to Call a Professional
Some problems are too big for quick fixes at home:
- Blinking light codes won’t stop after resetting
- Wiring inside the motor looks damaged
- Circuit boards seem broken
- Sensors don’t line up no matter what you try
- Strange noises that sound like parts are failing
When you see these signs, stop messing with it and call a professional service right away. A professional garage door technician has tools to check problems carefully and fix them safely.
These expert technicians handle electric parts safely and follow rules like UL 325 safety standards. They keep your warranty safe too when they replace or fix parts. Letting pros work on serious issues helps avoid bigger damage later on.

DIY Quick Diagnostic Steps
LiftMaster blinking light codes show you what’s wrong with your garage door opener. When the LED flashes, it means something needs your attention. Look closely at how many times it blinks. Each pattern points to a different problem—maybe sensor faults, RPM errors, or travel limit issues. To troubleshoot:
- Count the flashing LED signals carefully.
- Check your model’s manual or search online for the blink code chart.
- Look at sensors to see if anything blocks or misaligns them.
- Inspect wiring for loose plugs or damage.
Be careful when you test electrical parts. If the problem is simple—like dirty sensors or blocked beams—you can clean and realign them yourself. Those are fast fixes! But if it’s something bigger like motor trouble or circuit board errors, call a pro instead.
Doing these quick diagnostics can save time and stop extra repair costs. Plus, it helps you get reliable repair on your LiftMaster opener faster.
Resetting and Reprogramming Opener
Sometimes resetting your garage door opener fixes blinking lights caused by little glitches; if the issues persist, our opener installation repair service can help update and recalibrate your system. Here’s how to reset it:
- Unplug the unit from the power outlet.
- Wait about 30 seconds before plugging it back in.
- Hold down the “Learn” button until its light turns off (usually about 6 seconds).
After that, you might need to reprogram your remotes:
- Press the “Learn” button quickly; an LED will glow steady.
- Within 30 seconds, press a button on your remote to sync it with the opener.
Do this for every remote you want to use with the opener.
Addressing Sensor Alignment Problems
Safety sensor alignment matters because bad photo-eye sensor position causes blinking lights and stops the door from working right. Look out for these sensor misalignment symptoms:
- Safety sensor LEDs blinking
- Door suddenly reversing when closing
- No response from remotes at all
To fix sensor alignment:
- Find both photo-eye sensors facing each other across the doorway about 4–6 inches above ground level.
- Move their brackets slowly until both lights turn solid green (or steady).
- Clean their lenses gently using a soft cloth—dust or spider webs can block beams easily!
- Check cables for wear or damage; swap them if needed.
Sometimes stuff like dirt, leaves, sunlight glare, or objects block sensors too—clear any of that right away. Getting photo-eye sensor alignment right keeps things safe and stops false alerts caused by broken beams, matching UL 325 safety rules perfectly.
Regular Maintenance for Longevity
Keeping your garage door opener in good shape means it will last longer. If you know what LiftMaster blinking light codes mean, you can fix small problems before they get worse.
Clean the sensor lenses often. Use a soft microfiber cloth to wipe away dirt or spider webs. Dirty lenses block signals and cause errors or safety stops. Be gentle so you don’t scratch them.
Check the tension of your chain or belt too. A loose chain makes noise and moves unevenly. A belt that’s too tight can hurt the motor. Look at your garage door opener manual for how to adjust it right.
Find your model number in the manual or online to get tips made just for your opener. Most openers last about 10-15 years with care.
Here’s a quick list for basic upkeep:
- Clean sensor lenses with a sensor lens microfiber cloth
- Check and adjust chain tension
- Check and adjust belt tension
- Follow the steps in your garage door opener manual lookup
- Watch out for blinking light codes
Doing these small jobs can stop many common problems. It saves you time and money compared to calling a repair person later.
When Working with Garage Door Openers
Garage door openers have moving parts and electric pieces, so safety matters a lot. Here are some easy rules:
- Always stand clear of doors when using controls.
- If you don’t know what to do—especially after seeing blinking light codes—stop and call a pro.
- Follow UL 325 sensor guidelines to make sure sensors work safely.
- Never turn off safety features like force limits or travel stops. They keep you from getting hurt.
- Know how the emergency release works but only use it if you really need to.
A professional can handle repairs safely and follow all garage door opener safety standards. They protect you during tricky fixes.
If your LiftMaster is showing blinking lights related to sensors or mechanical parts, be careful if trying any fixes yourself. Lots of problems need trained techs who know how to keep things safe and working right.
Combining regular care with safe habits helps your garage door stay reliable and keeps everyone safe around it.
